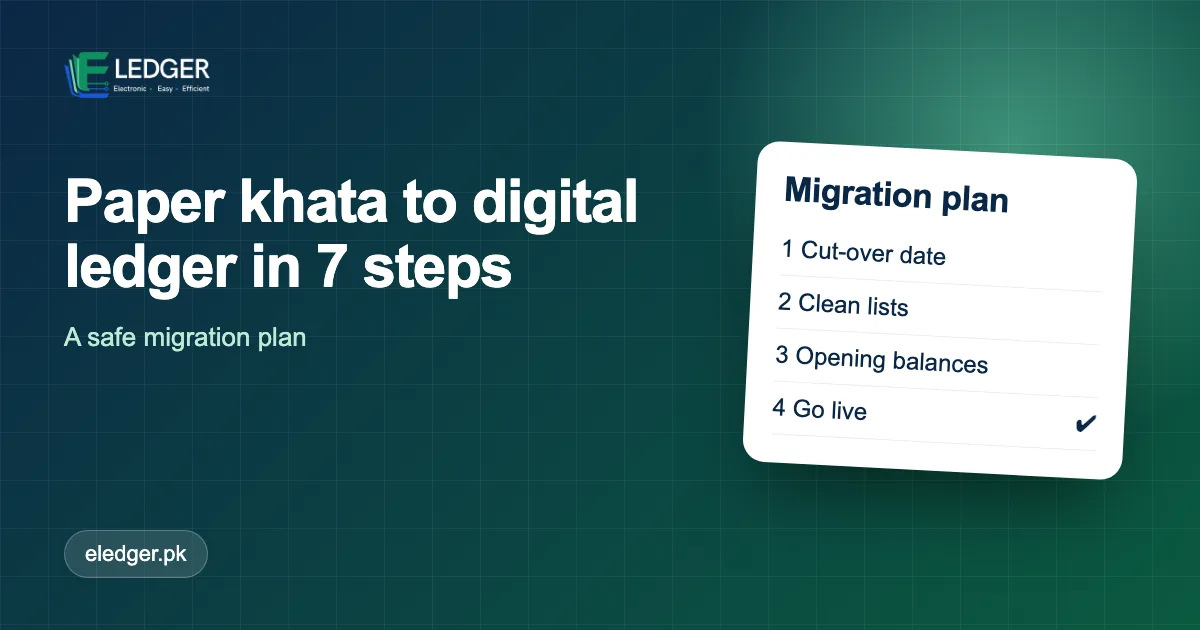
Moving from a paper ledger book to a digital system sounds like a big project. In practice it is a short, well-defined job that most businesses finish in a few days. The risk is not the software - it is starting with wrong numbers. This seven-step plan shows how to migrate safely and keep your books trustworthy from the first day.
Step 1: Choose A Cut-Over Date
Pick a date, ideally the first day of a month or the day after a quiet weekend. Everything before that date stays in the paper books as history; everything on or after it goes only into the software. A clear line avoids double entry and arguments later.
Step 2: Clean Up Your Customer And Supplier List
Before typing anything, go through your register and:
- Merge duplicates (the same customer written two ways).
- Mark customers who have not traded for years.
- Add missing phone numbers - you will need them for statements and reminders.
Step 3: Work Out Closing Balances
For each customer and supplier, calculate the balance as of the day before cut-over. These are your opening balances. Ask a second person to verify the biggest ten balances; those are where mistakes cost the most.
Step 4: Prepare Your Product List
List each product with its name, category, current stock quantity and selling and buying rate. Standardise names (for example "Engine Oil 20W-50 4L" rather than three variations). Consistent names make search fast and reports clean.
Step 5: Enter Opening Data
Enter products, customers, suppliers and opening balances. Many providers will help you load these from a spreadsheet; ask during the demo. After entry, print the customer balance list and compare the total with your manual total. They must match before you go live.
Step 6: Train Your Team On Real Tasks
Do not train on a presentation. Sit with each person and have them perform their five daily tasks: make a sale, record a payment, add a purchase, check a balance and print a bill. One focused hour is worth more than a manual.
Step 7: Run A Short Parallel Check
For the first three to five working days, compare the software's end-of-day totals against your paper cash and stock count. Once they agree for several days, retire the paper register and archive it safely.
Mistakes That Cause Problems Later
| Mistake | Why it hurts | Fix |
|---|---|---|
| Entering all old bills | Weeks of typing, more errors | Only opening balances - keep old bills on paper |
| No cut-over date | Entries in both systems | Fix a date and announce it |
| Unverified balances | Wrong reports from day one | Second-person check of top balances |
| Everyone shares one login | No accountability | One login per person with a role |
How Long Does It Take?
For a business with a few hundred customers and products, expect one to three days of preparation and one day of setup. Most of that time is cleaning data you needed to clean anyway.
Frequently Asked Questions
How do I migrate my financial records to an e-ledger safely?
Choose a cut-over date, clean your customer and supplier lists, calculate closing balances as opening balances, verify the largest ones, enter them, then compare totals before going live.
Do I need to enter all my old bills?
No. Enter opening balances as of the cut-over date and keep old paper records as history.